react-native新手做个小游戏-v1.0
前言
本人开发react多年, 撸个react native游戏玩玩, 本文记录开发过程.
环境搭建
按照官网的来.
环境说明
我是Mac M2, 目标运行在 iphone 或者 ipad上.
电脑里的node为lts的v20.11.0, 安装的react-native版本为0.74.0
反复失败的RN-CLI
官网提供两种init方式, React Native CLI和Expo Go.

我脑子抽了优先尝试了React Native CLI, 结果就是, 试了多个版本(0.72.9 ~ 0.73.3, 0.73.6, 0.74.0), 不是那里install failed, 就是这里build error. 有个build iOS时的依赖报错, 在github的issue里一搜, 都存在大半年了也没搞好.
网上有戏称开发RN2年多, 装环境依然靠运气, 看来不是戏称.
最后隔了几天, 用新出的0.74.0又试了一遍, 居然成了...
init安装
按照官网来, 安装几个必要的先, 有的直接略过
# > 18的版本
brew install node
# Watchman由 Facebook 提供的监视文件系统变更的工具。安装此工具可以提高开发时的性能(packager 可以快速捕捉文件的变化从而实现实时刷新)。
brew install watchman
# CocoaPods是用 Ruby 编写的包管理器(可以理解为针对 iOS 的 npm)
brew install cocoapods
# init项目
npx react-native@0.74.0 init testProject --version  0.74.0
npm代理
npx的时候没成功, 显示timeout, 我这里通过.npmrc 文件设置了下代理.
你可以直接编辑 npm 的配置文件 .npmrc。在用户目录下(例如 ~/.npmrc)或项目目录下创建或编辑 .npmrc 文件,添加如下内容:
proxy=socks5://127.0.0.1:1080
https-proxy=socks5://127.0.0.1:1080
继续再来一遍npx react-native init testProject
install CocoPods 选no, 我们提前已经安装了, 不然一直会卡在这.
安装pod
cd ios
bundle install
bundle exec pod install
如果很慢, 挂git代理 or 全局命令行代理
# 挂代理
git config --global http.proxy socks5://127.0.0.1:1080
git config --global https.proxy socks5://127.0.0.1:1080
# 查看git代理
git config --global --list

# 或者命令行挂代理
export all_proxy=socks5://127.0.0.1:1080
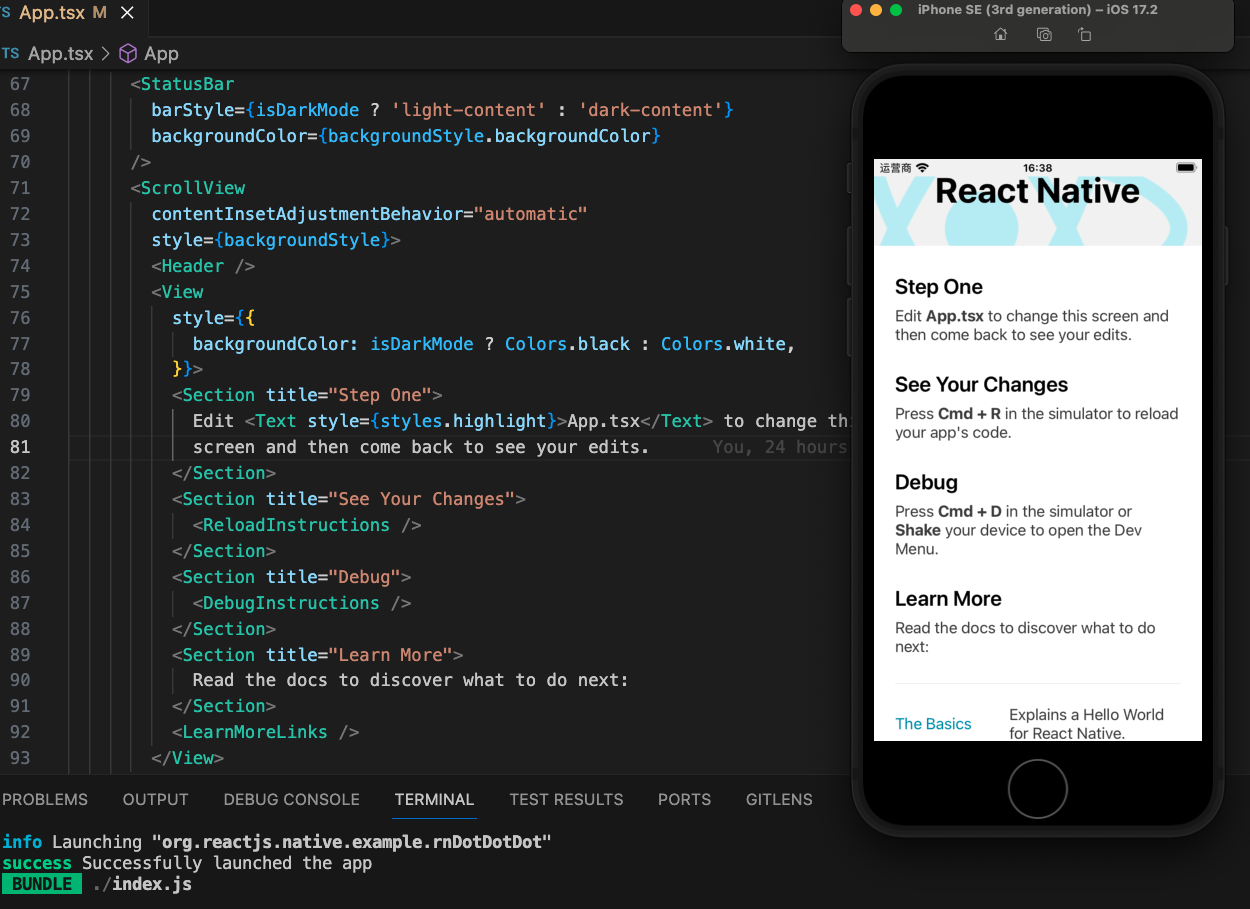
都成功了之后, 项目终于出来了:
没那么强烈推荐的Expo-Go
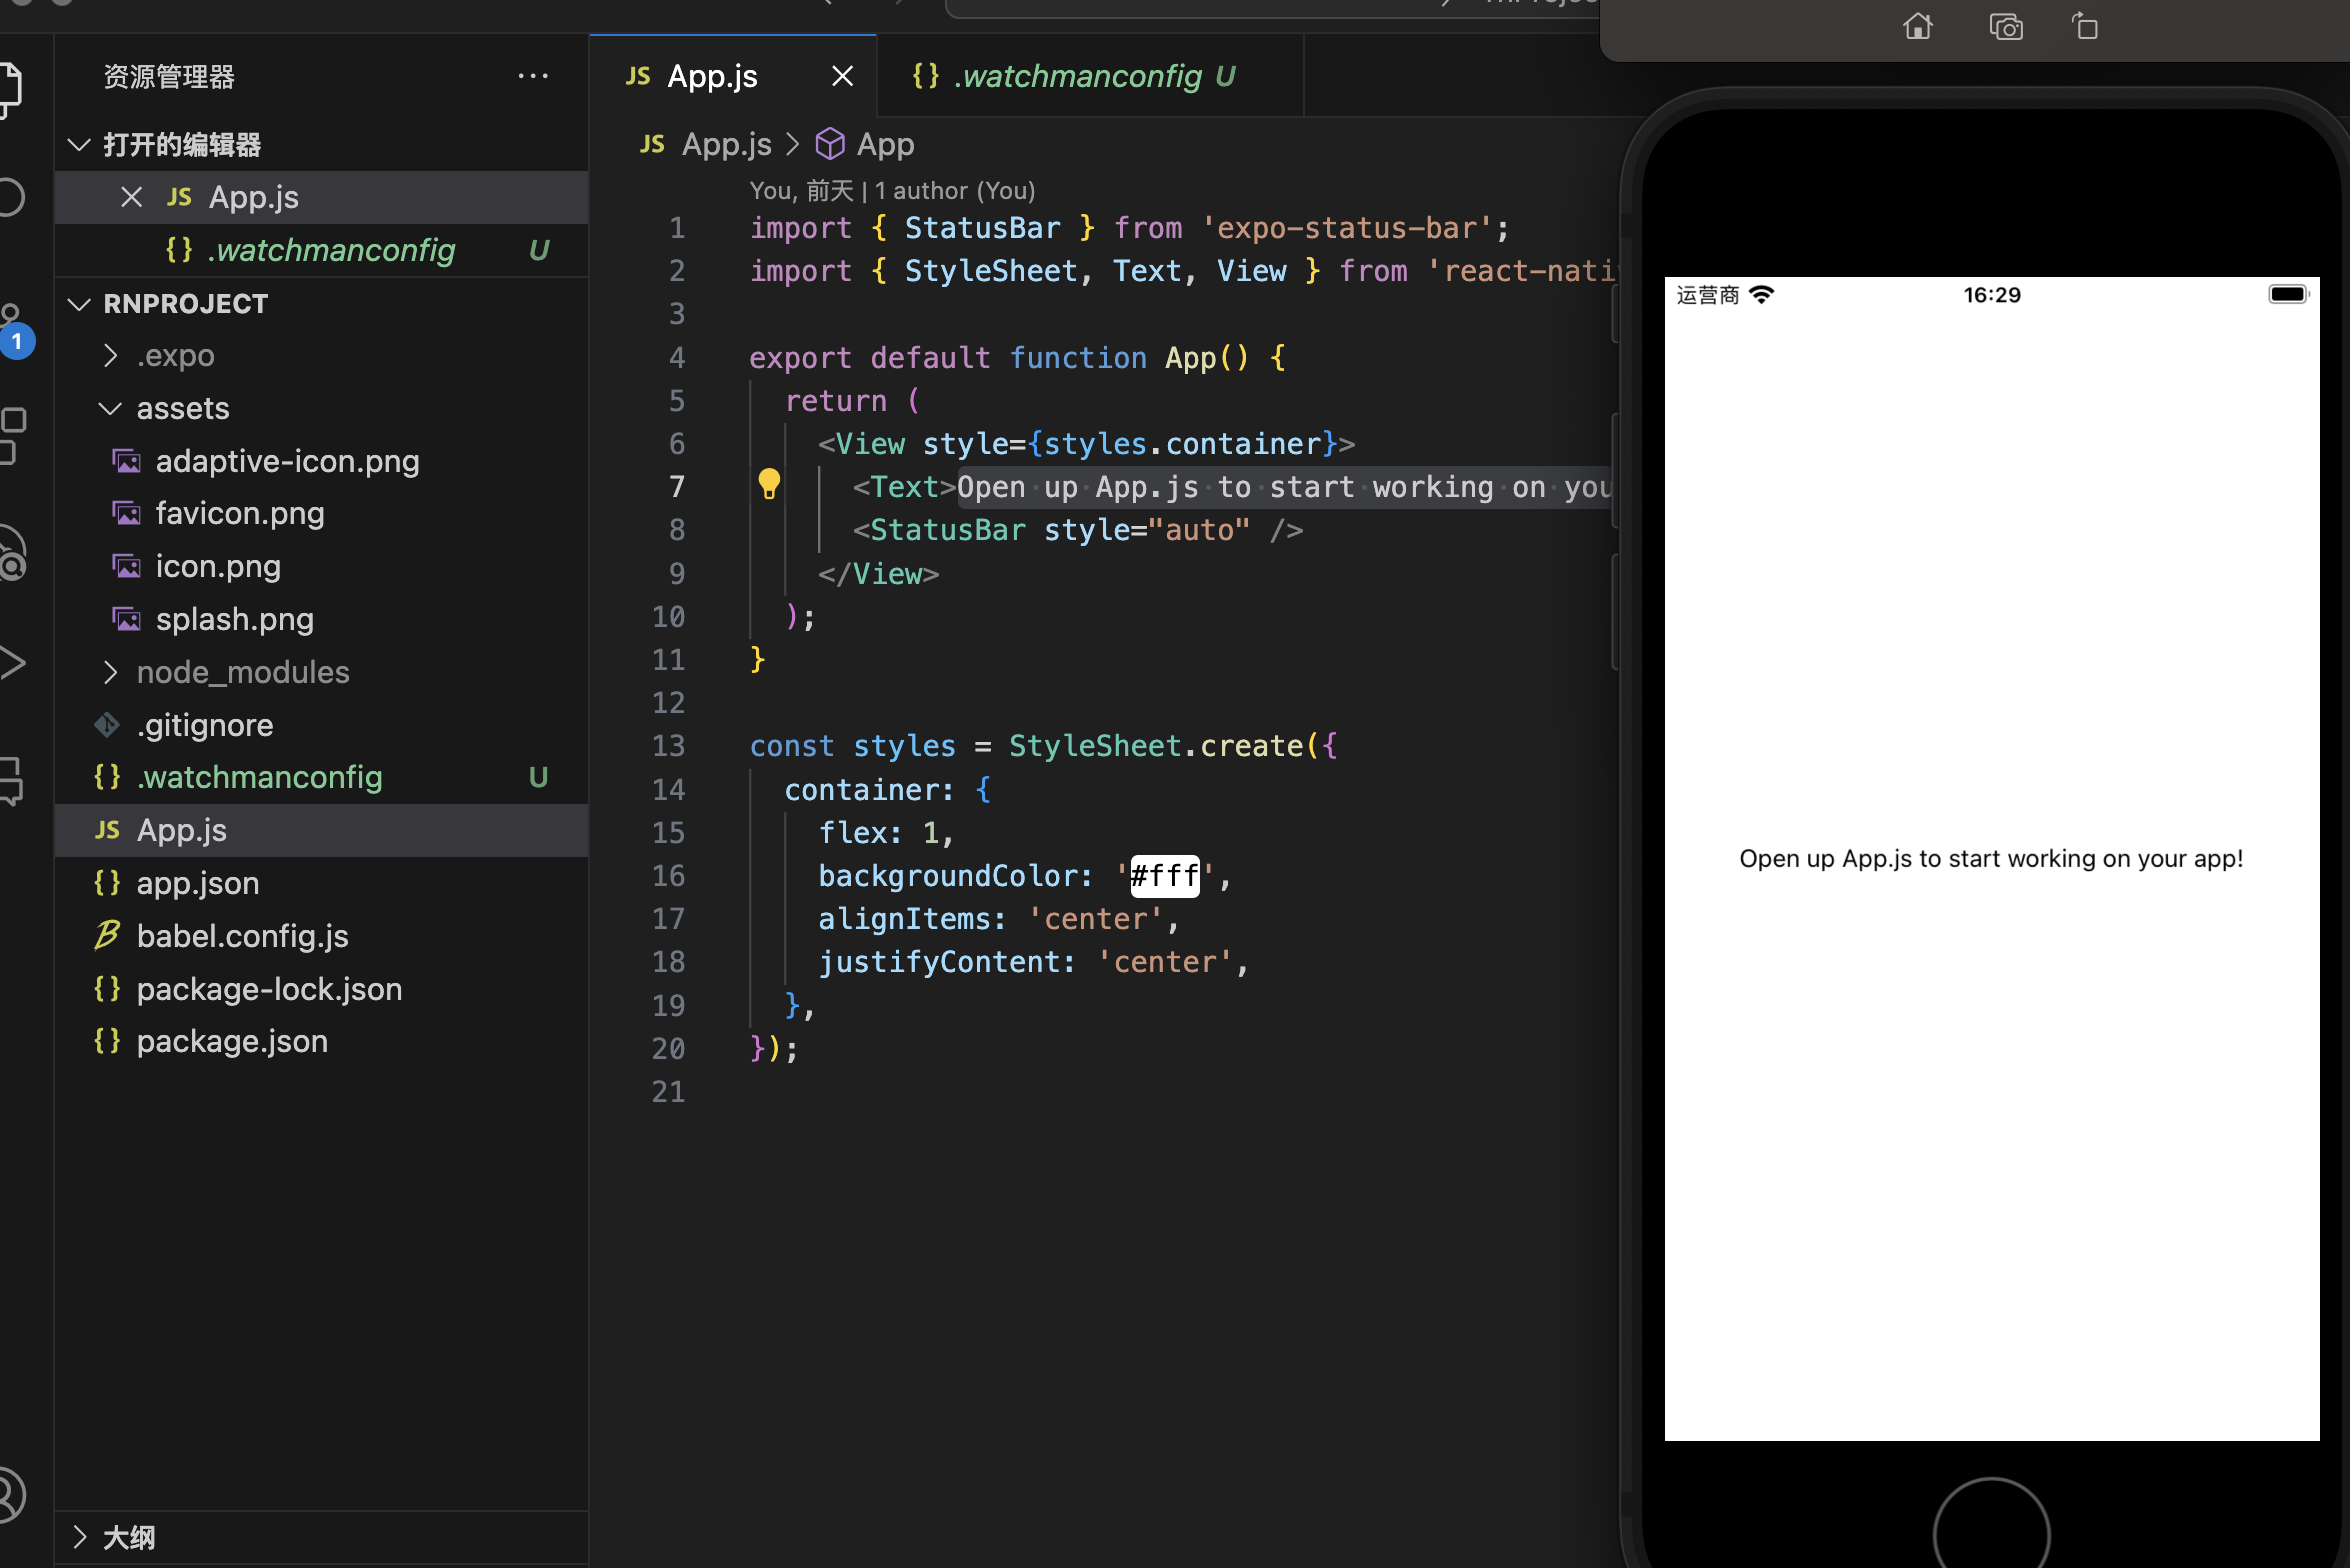
累计尝试了React Native CLI快一整天, 脑子开窍试了Expo Go初始化项目, 几分钟就顺利起来了, 真的就3个命令行的事:
npx create-expo-app AwesomeProject

cd AwesomeProject
npx expo start
但是!!! expo想要build部署到自己的pad上, 需要苹果开发者账号! 否则只能开发环境通过局域网访问开发机
后来在v2ex上发帖询问, 后来别人说可以用expo snacks, 我没有再尝试, 直接改用RN-CLI, 然后XCode链接真机部署了.
UI设计
作为一名前端开发, 秉承UI不确定, 代码不开始原则.(当然是不可能的)
我去搜了一下ios的设计标准, 然后发现有现成的Figma标准,
俗话说:

毕竟之前每份工作, 天天都跟公司的设计妹子聊天, 啊不, 沟通需求. Figma也见她们用过, 依葫芦画瓢地我也出了张设计图(work in progress):
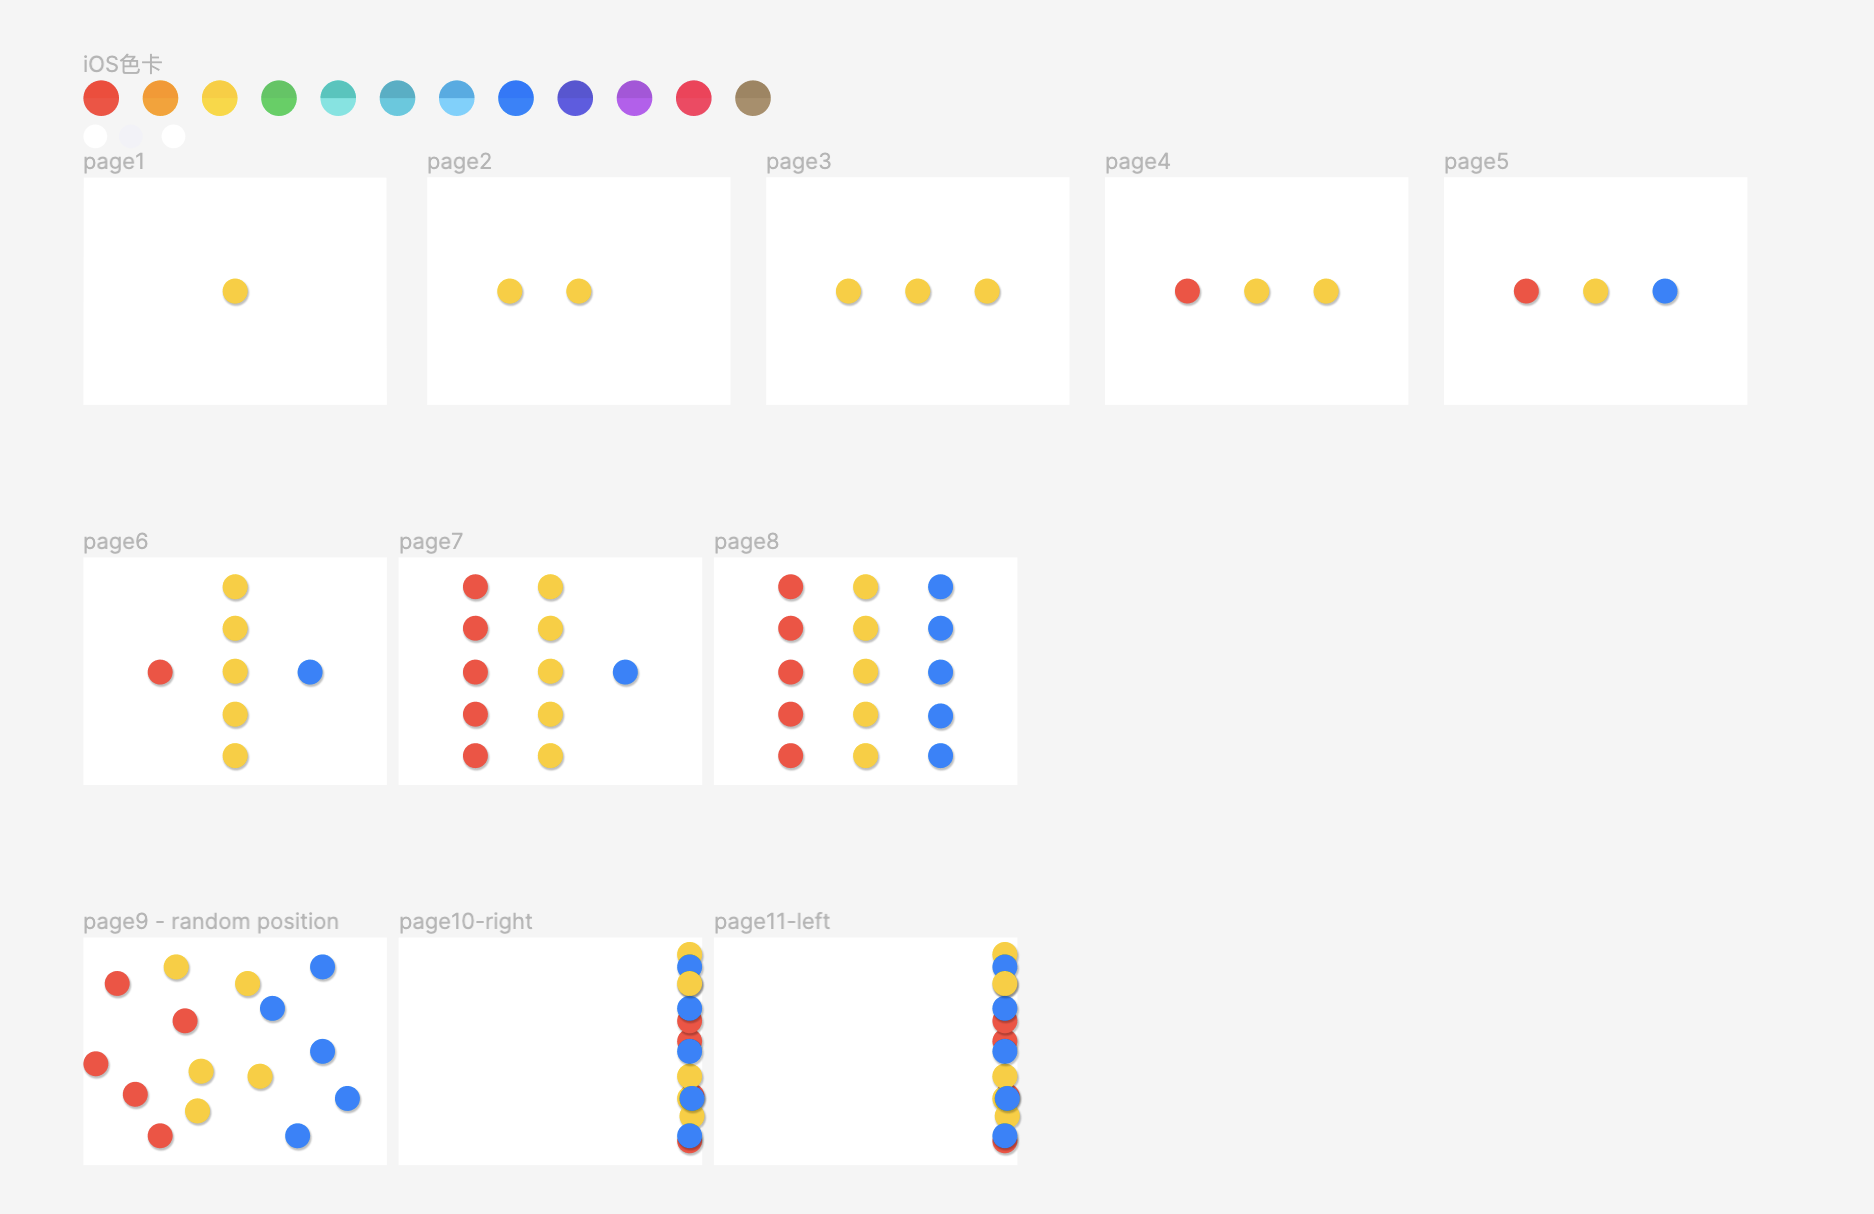
是的, 看到图你大概猜出来了, 就是这么个弱智小游戏, 不过挺适合1岁多的娃玩的.
文档学习
学习目标
- 熟悉项目需要的基本组件 - ✅
- 知道
RN布局, 样式怎么写 - ✅ - 学习动画的使用 - ✅
- 路由 - ✅
- 打包部署到自己的
ipad上 - ✅ - 强制横屏 - ✅
- 调用重力感应, 语音输入原生API
- (opt)加上eslint - ✅
- (opt)加上UnitTest
- (opt)发版上架App Store
笔记
核心组件
| RN Component | Web | Desc |
|---|---|---|
<View> | A non-scrolling <div> | A container that supports layout with flexbox, style, some touch handling, and accessibility controls |
<Text> | <p> | Displays, styles, and nests strings of text and even handles touch events |
<Image> | <img> | Displays different types of images |
<ScrollView> | <div> | A generic scrolling container that can contain multiple components and views |
<TextInput> | <input type="text"> | Allows the user to enter text |
<FlatList> | <div> | map div to render, 但是有可见区域优化渲染, 猜测机制同 virtualTable 组件 |
还有Button, Modal, Switch等看了名字就知道大概干啥的组件.
其中TouchableHighlight应该是我接下来要用到的.
样式书写
和react的CSS Module类似, demo示例如下:
import React from 'react';
import {StyleSheet, Text, View} from 'react-native';

const LotsOfStyles = () => {
  return (
    <View style={styles.container}>
      <Text style={styles.red}>just red</Text>
      <Text style={[styles.bigBlue, styles.red]}>bigBlue, then red</Text>
    </View>
  );
};

const styles = StyleSheet.create({
  container: {
    marginTop: 50,
  },
  bigBlue: {
    color: 'blue',
    fontWeight: 'bold',
    fontSize: 30,
  },
  red: {
    color: 'red',
  },
});

export default LotsOfStyles;
基本布局大多同css原生, 一些细节的default value略有不同, 我这个项目, 目前知道支持flex 和 position 布局基本就够了.
动画-Animated
组件封装
封装了6个组件 View、Text、Image、ScrollView、FlatList和SectionList, 其他的需要自己封装.
基于createAnimatedComponent封装.
基本demo示例
import React, {useRef} from 'react';
import {
  Animated,
  Text,
  View,
  StyleSheet,
  Button,
  SafeAreaView,
} from 'react-native';

const App = () => {
  // fadeAnim will be used as the value for opacity. Initial Value: 0
  const fadeAnim = useRef(new Animated.Value(0)).current;

  const fadeIn = () => {
    // Will change fadeAnim value to 1 in 5 seconds
    Animated.timing(fadeAnim, {
      toValue: 1,
      duration: 5000,
      useNativeDriver: true,
    }).start();
  };

  return (
    <SafeAreaView style={styles.container}>
      <Animated.View
        style={[
          styles.fadingContainer,
          {
            // Bind opacity to animated value
            opacity: fadeAnim,
          },
        ]}>
        <Text style={styles.fadingText}>Fading View!</Text>
      </Animated.View>
      <View style={styles.buttonRow}>
        <Button title="Fade In View" onPress={fadeIn} />
        <Button title="Fade Out View" onPress={fadeOut} />
      </View>
    </SafeAreaView>
  );
};

export default App;
可以用useNativeDriver使动画脱离JS线程, 启用原生, 这倒是比CSS的animation与JS的requestAnimationFrame有着先天的流畅优势.
颜色渐变demo
Animated 本身只支持 number 或者 [number, number]的线性变化, 所以需要用到interpolate
  // in react Components
  ...
  const fadeAnim = useRef(new Animated.Value(0)).current
  const color = fadeAnim.interpolate({
    inputRange: [0, 1],
    outputRange: [COLORS.yellow, COLORS.red]
  })
  const startAnimate = () => {
      Animated.timing(
      fadeAnim,
      {
        toValue: 1,
        duration: 1000,
        useNativeDriver: true
      }
    )
  }
  ...

  return (
    <Animate.View style={{ background: color}} />
  )
其他API简介
提供三种线性执行函数decay(), spring(), timing(), 根据理解应该分别翻译为衰变, 弹簧, 线性.
提供执行方式delay(), paralle(), sequence(), stagger(), 英文都很好理解.
提供合成动画add(), subtract(), divide(). module(), multiply(), 单词我认识, 效果待补充测试加截图理解.
add的demo
项目中遇到需要追加动画, 很快就用上了add, 场景描述: 连续点击一个btn 5次连续出现5个圈.
期待效果: 快速点击, 与慢速点击都可以在5次之后出现5个圈.
大概实现代码:
const animating = useRef(false)
const animator = useRef(null)

const handlePress = () => {
  if (animating.current) {
    animating.current = true
    animator.current = Animated.timing(
      targetAnim,
      {
        toValue: 1,
        duration: 1000,
        useNativeDriver: true
      }
    ).start(({ _finished }) => {
      animating.current = false
    })
  } else {
    animator.current = Animated.add(
      animator.current,
      Animated.timing(
        targetAnim,
        {
          toValue: 1,
          duration: 1000,
          useNativeDriver: true
        }
      ).start(({ _finished }) => {
        animating.current = false
      })
    )
  }
}
路由
虽然项目很小, 自己用组件切换可以配个低配版的前端路由, 但本着学习为主, 配置了一下react-natvie-navigation.
在expo初始的项目, 执行以下两个命令:
npm install @react-navigation/native @react-navigation/native-stack

npx expo install react-native-screens react-native-safe-area-context
在CLI初始的项目里, 执行以下:
npm install @react-navigation/native react-native-screens react-native-safe-area-context

npx pod-install ios
用法demo:
import * as React from 'react';
import {NavigationContainer} from '@react-navigation/native';
import {createNativeStackNavigator} from '@react-navigation/native-stack';

const Stack = createNativeStackNavigator();

const HomeScreen = ({navigation}) => {
  return (
    <Button
      title="Go to Jane's profile"
      onPress={() =>
        navigation.navigate('Profile', {name: 'Jane'})
      }
    />
  );
};

const ProfileScreen = ({navigation, route}) => {
  return <Text>This is {route.params.name}'s profile</Text>;
};

const MyStack = () => {
  return (
    <NavigationContainer>
      <Stack.Navigator>
        <Stack.Screen
          name="Home"
          component={HomeScreen}
          options={{title: 'Welcome'}}
        />
        <Stack.Screen name="Profile" component={ProfileScreen} />
      </Stack.Navigator>
    </NavigationContainer>
  );
};
路由小坑
看react-navigation的配置挺像react-router的, 但是当我发现我的第一个默认Screen(上文的Home组件)一直处于mount的状态时.
RN里是堆栈导航, 每次导向新的nav.screen, 组件丢在栈的最上面, 而次新组件不销毁. 具体原因待深入理解.
解决方案, 在第一个页面用useFocusEffect, 或者在useEffect的依赖里加入对当前route名称的判断都可以.
import { useFocusEffect } from '@react-navigation/native';

...
  useFocusEffect(() => {
    console.log('page1 mounted')
    return () => {
      console.log('page1 unmounted!')
    }
  })
...
项目结构
加完路由后, 项目基本接口定下来了, 如下:
...
├── App.js // 入口文件
├── app.json
├── assets // 静态文件
│   ├── adaptive-icon.png
│   ├── favicon.png
│   ├── icon.png
│   └── splash.png
├── babel.config.js
├── package-lock.json
├── package.json
└── src
    ├── components // 公共组件库
    │   └── circle.js // 组件
    ├── constants.js // 常量, 比如有Apple的Color设计标准等
    ├── navigators.js // 导航路由信息
    ├── pages // 基本页面的集合
    │   ├── page1.js
    │   └── page2.js
    └── style.js // 可共享的公共样式放到此文件下, export出去
部署真机测试
每一步都可以google问问
- 需要注册开发者账号, 到付费前的那一步账号就可以用了.
- 打开真机的develop模式
- XCode选择项目的
xcworkspace, 然后目标选为真机, team选自己的开发者账号, build - 手机上
vpn & device信任设备 - 在一个局域网下开启调试与实时编译功能(cli自带)
摇晃功能
安装
yarn add react-native-shake@5.5.2

cd ios
pod update
demoJS
import RNShake from 'react-native-shake';

useEffect(() => {
  const sub = RNShake.addListener(() => {
    alert(123)
    console.log('shake event 123!')
  })
  return () => {
    sub.remove()
  }
}, [])
无效的小bug
库很好添加, 文档也简单, 但是目前手机一摇晃出来的就是Dev Menu, 没有我的shark事件. 我以为是事件覆盖了, 然后试了release打包的版本, 结果还是不行, 到的issue列表里看一看, 果然也有别人说not work.
降版本即可.
强制横屏
用的库是react-native-orientation-locker
库的demo代码说明:
import Orientation, { OrientationLocker, PORTRAIT, LANDSCAPE } from "react-native-orientation-locker";

// 组件demo
  <OrientationLocker
    orientation={LANDSCAPE}
    onChange={(orientation) => console.log('orientation', orientation)}
    onDeviceChange={orientation => console.log('onDeviceChange', orientation)}
  />

// 还支持
  Orientation.getAutoRotateState((rotationLock) => {});
  Orientation.lockToPortrait(); // 锁竖屏
  Orientation.lockToLandscapeLeft() // 锁横屏
  Orientation.unlockAllOrientations() // 解锁
  Orientation.addOrientationListener / removeOrientationListener
我采用直接在顶级入口useEffect加事件, 并且每次变化屏幕方向时, 强制切换.
代码如下:
import Orientation, { OrientationLocker, PORTRAIT, LANDSCAPE } from "react-native-orientation-locker";

...
  useEffect(() => {
    Orientation.getOrientation((orientation) => {
      console.log('get orientation when app mount', orientation)
      if (orientation === PORTRAIT) {
        Orientation.lockToLandscapeLeft();
      }
    });
    return () => {
      console.log('unmount app')
    }
  }, [])

...
  <OrientationLocker
    orientation={LANDSCAPE}
    onChange={(orientation) => {
      // console.log('orientation', orientation)
    }}
    onDeviceChange={orientation => {
      // console.log('onDeviceChange', orientation)
      if (orientation === PORTRAIT) {
        Orientation.lockToLandscapeLeft();
      }
    }}
  />
...
小结
一阶段学习目标暂且算达到, 已经部署到pad上给闺女玩了. 目前就8 9个页面.
附上github地址:
https://github.com/chase-si/rnDotDotDot
- 熟悉项目需要的基本组件 - ✅
- 知道
RN布局, 样式怎么写 - ✅ - 学习动画的使用 - ✅
- 路由 - ✅
- 打包部署到自己的
ipad上 - ✅ - 强制横屏 - ✅
- 调用重力感应, 语音输入原生API
- (opt)加上eslint - ✅
- (opt)加上UnitTest
- (opt)发版上架App Store